In this tutorial, you will learn how to build a fullstack Angular application that uses GraphQL to fetch data from a server. The application we'll build together will display a list of blog posts fetched from a GraphQL API using Apollo Client, including search functionality. To create the GraphQL API, we will use StepZen, a GraphQL API platform that allows you to build and deploy a GraphQL API in minutes.
Do you prefer watching a video walkthrough instead? Check out the link below:
Introduction
Google has developed Angular, an open-source web application framework based on TypeScript. The initial release of Angular from angular.js involved a complete rewrite, enabling the creation of large-scale, cross-platform applications.
Angular has gained a reputation for its exceptional developer tooling, which includes built-in features such as TypeScript support, routing, and a command-line interface. Additionally, Angular's component-based architecture, remarkable speed and performance, and other powerful features make it a popular choice among developers.
Prerequisites
To follow this tutorial, you will need the following:
- Node.js installed on your machine
- Angular CLI installed on your machine (you can install it globally by running the following command using npm:
npm install -g @angular/cli) - StepZen CLI installed on your machine (you can install it globally by running the following command using npm:
npm install -g stepzen)
You can find the source code for this tutorial on GitHub.
Setting up a new Angular project
To build an Angular application, we will use the Angular CLI. The Angular CLI is a command-line interface that allows you to create, build, and test Angular applications.
If you don't have the Angular CLI already on your machine, you can install it globally by running the following command using npm:
`npm install -g @angular/cli`
Note: The Angular CLI requires a minimum Node.js version of either v14.20, v16.13, or v18.10. With the Angular CLI installed, we can now create a new Angular application by running the following command:
`ng new with-angular --directory ./with-angular`
This command will create a new Angular application named with-angular, and we specified the directory where the application will be created with the'-- directory' flag. The Angular CLI will create a new directory named with-angular if it doesn't exist and will create the application inside the directory.
After the Angular CLI has finished creating the application, we can now navigate to the application directory and start the development server by running the following commands:
cd with-angular
ng serve --open
The ng serve command will start the development server, and the --open flag will open the application in the default browser.
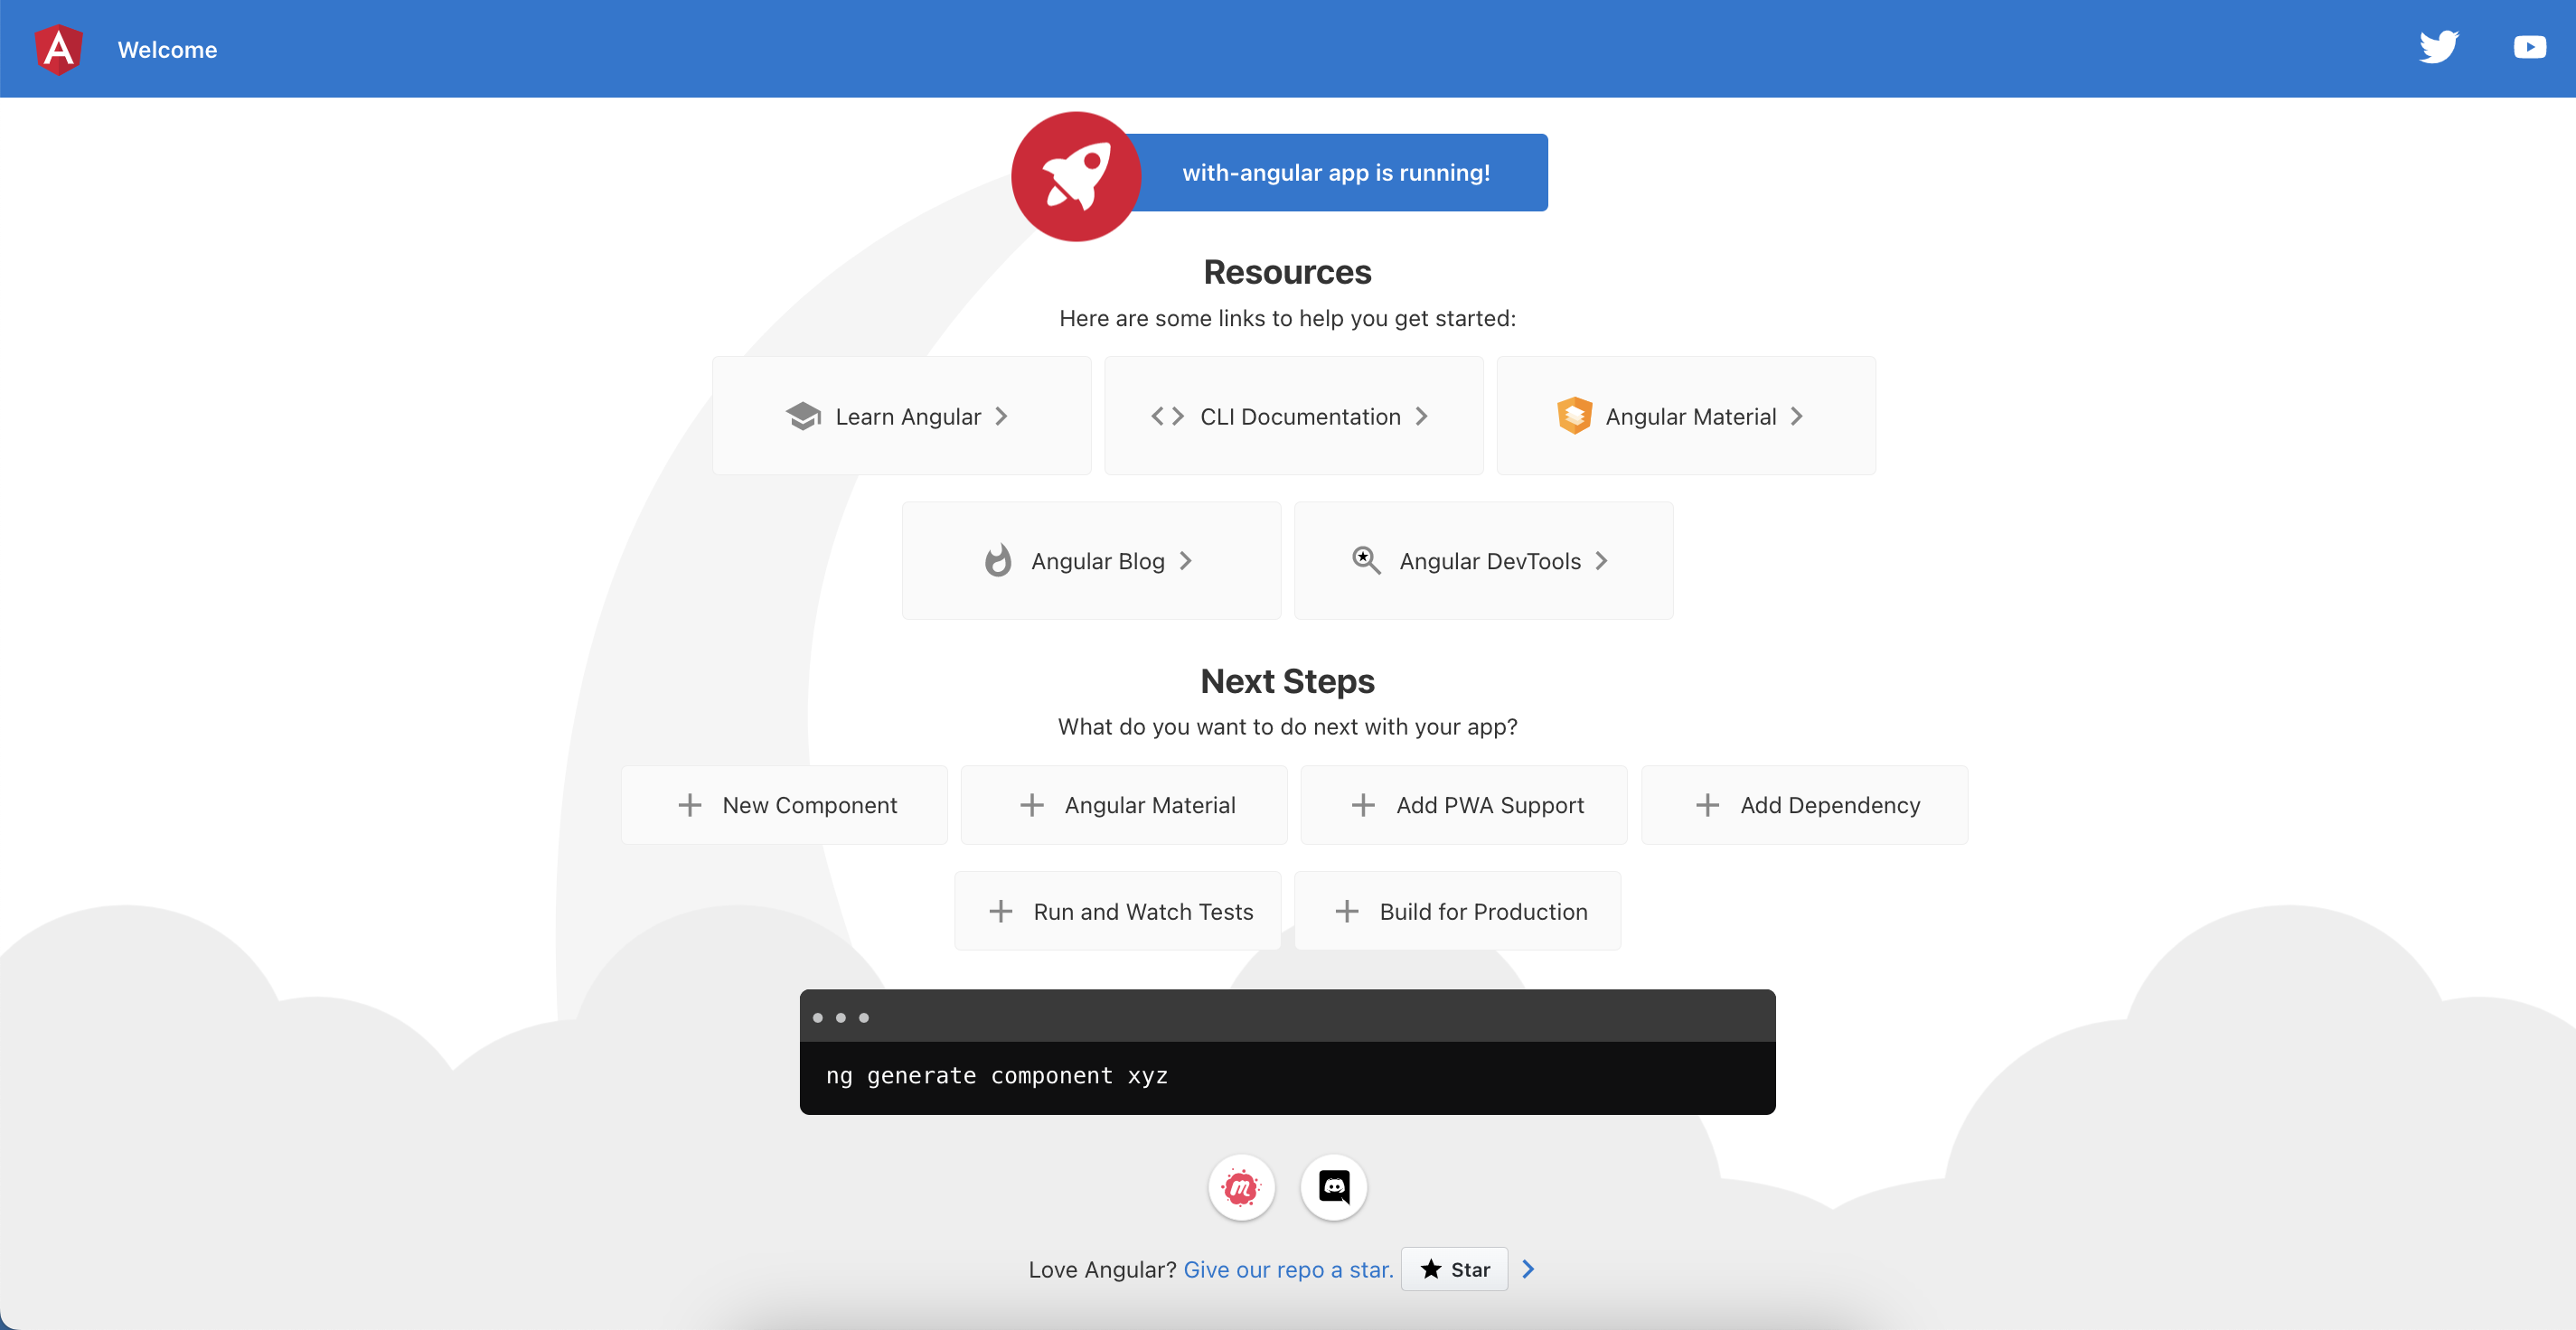
With the starter application running, we can now start building our application. But before we can start building the application, we need to create a GraphQL API that we can use to fetch data. In the next section, we'll create a GraphQL API using StepZen.
Creating a GraphQL API with StepZen
The Angular application we build in this blog post will fetch data from a GraphQL API. To create a GraphQL API, we will use StepZen, a GraphQL API platform that allows you to build and deploy a GraphQL API in minutes. One of the capabilities of StepZen is transforming REST APIs into GraphQL APIs, which will be demonstrated in this tutorial.
Before creating a GraphQL API, we need to create a StepZen account. You can create a free account by visiting the StepZen website. And once you've created an account, you can install the StepZen CLI (if you haven't already) by running the following command:
`npm install -g stepzen`
With the StepZen CLI installed, we can now create a new StepZen project in the with-angular directory by running the following command:
mkdir stepzen
stepzen init --endpoint=api/with-angular
The blog posts we want to show in our application are fetched from the DEV.to API. More specifically, we will fetch the posts from the DEV.to API's articles endpoint: https://dev.to/api/articles?username=gethackteam. The articles endpoint returns a list of articles, and you could provide a different username to fetch articles from another user.
To create a GraphQL API that fetches data from the DEV.to API, we can use the import command from the StepZen CLI. This command will create a GraphQL schema for this REST API:
`stepzen import curl 'https://dev.to/api/articles?username=gethackteam' --name=posts --query-type=Posts --query-name=posts`
Which generates a new GraphQL schema in a directory named posts, which has a query called posts that returns a list of posts. The --query-type flag specifies the name of the type that the query will return, and the --query-name flag specifies the query's name.
From a different DEV.to endpoint, we want to retrieve a single post by its ID to retrieve a list of posts. To do this, we can use the import command again, but this time we'll use the --query-type and --query-name flags with different values to specify the name of the type and query:
`stepzen import curl 'https://dev.to/api/articles/1366695' --name=post --query-type=Post --query-name=post`
There might be some overlap between type names when importing multiple REST APIs using stepzen import curl. The StepZen CLI will notify you of this, and you can manually delete the duplicated types from the GraphQL schemas. For this project, we can delete the User, and Organization types from the file post/index.graphql as these were already specified in the schema for the first import.
To deploy the GraphQL API, we can run the following command:
`stepzen start`
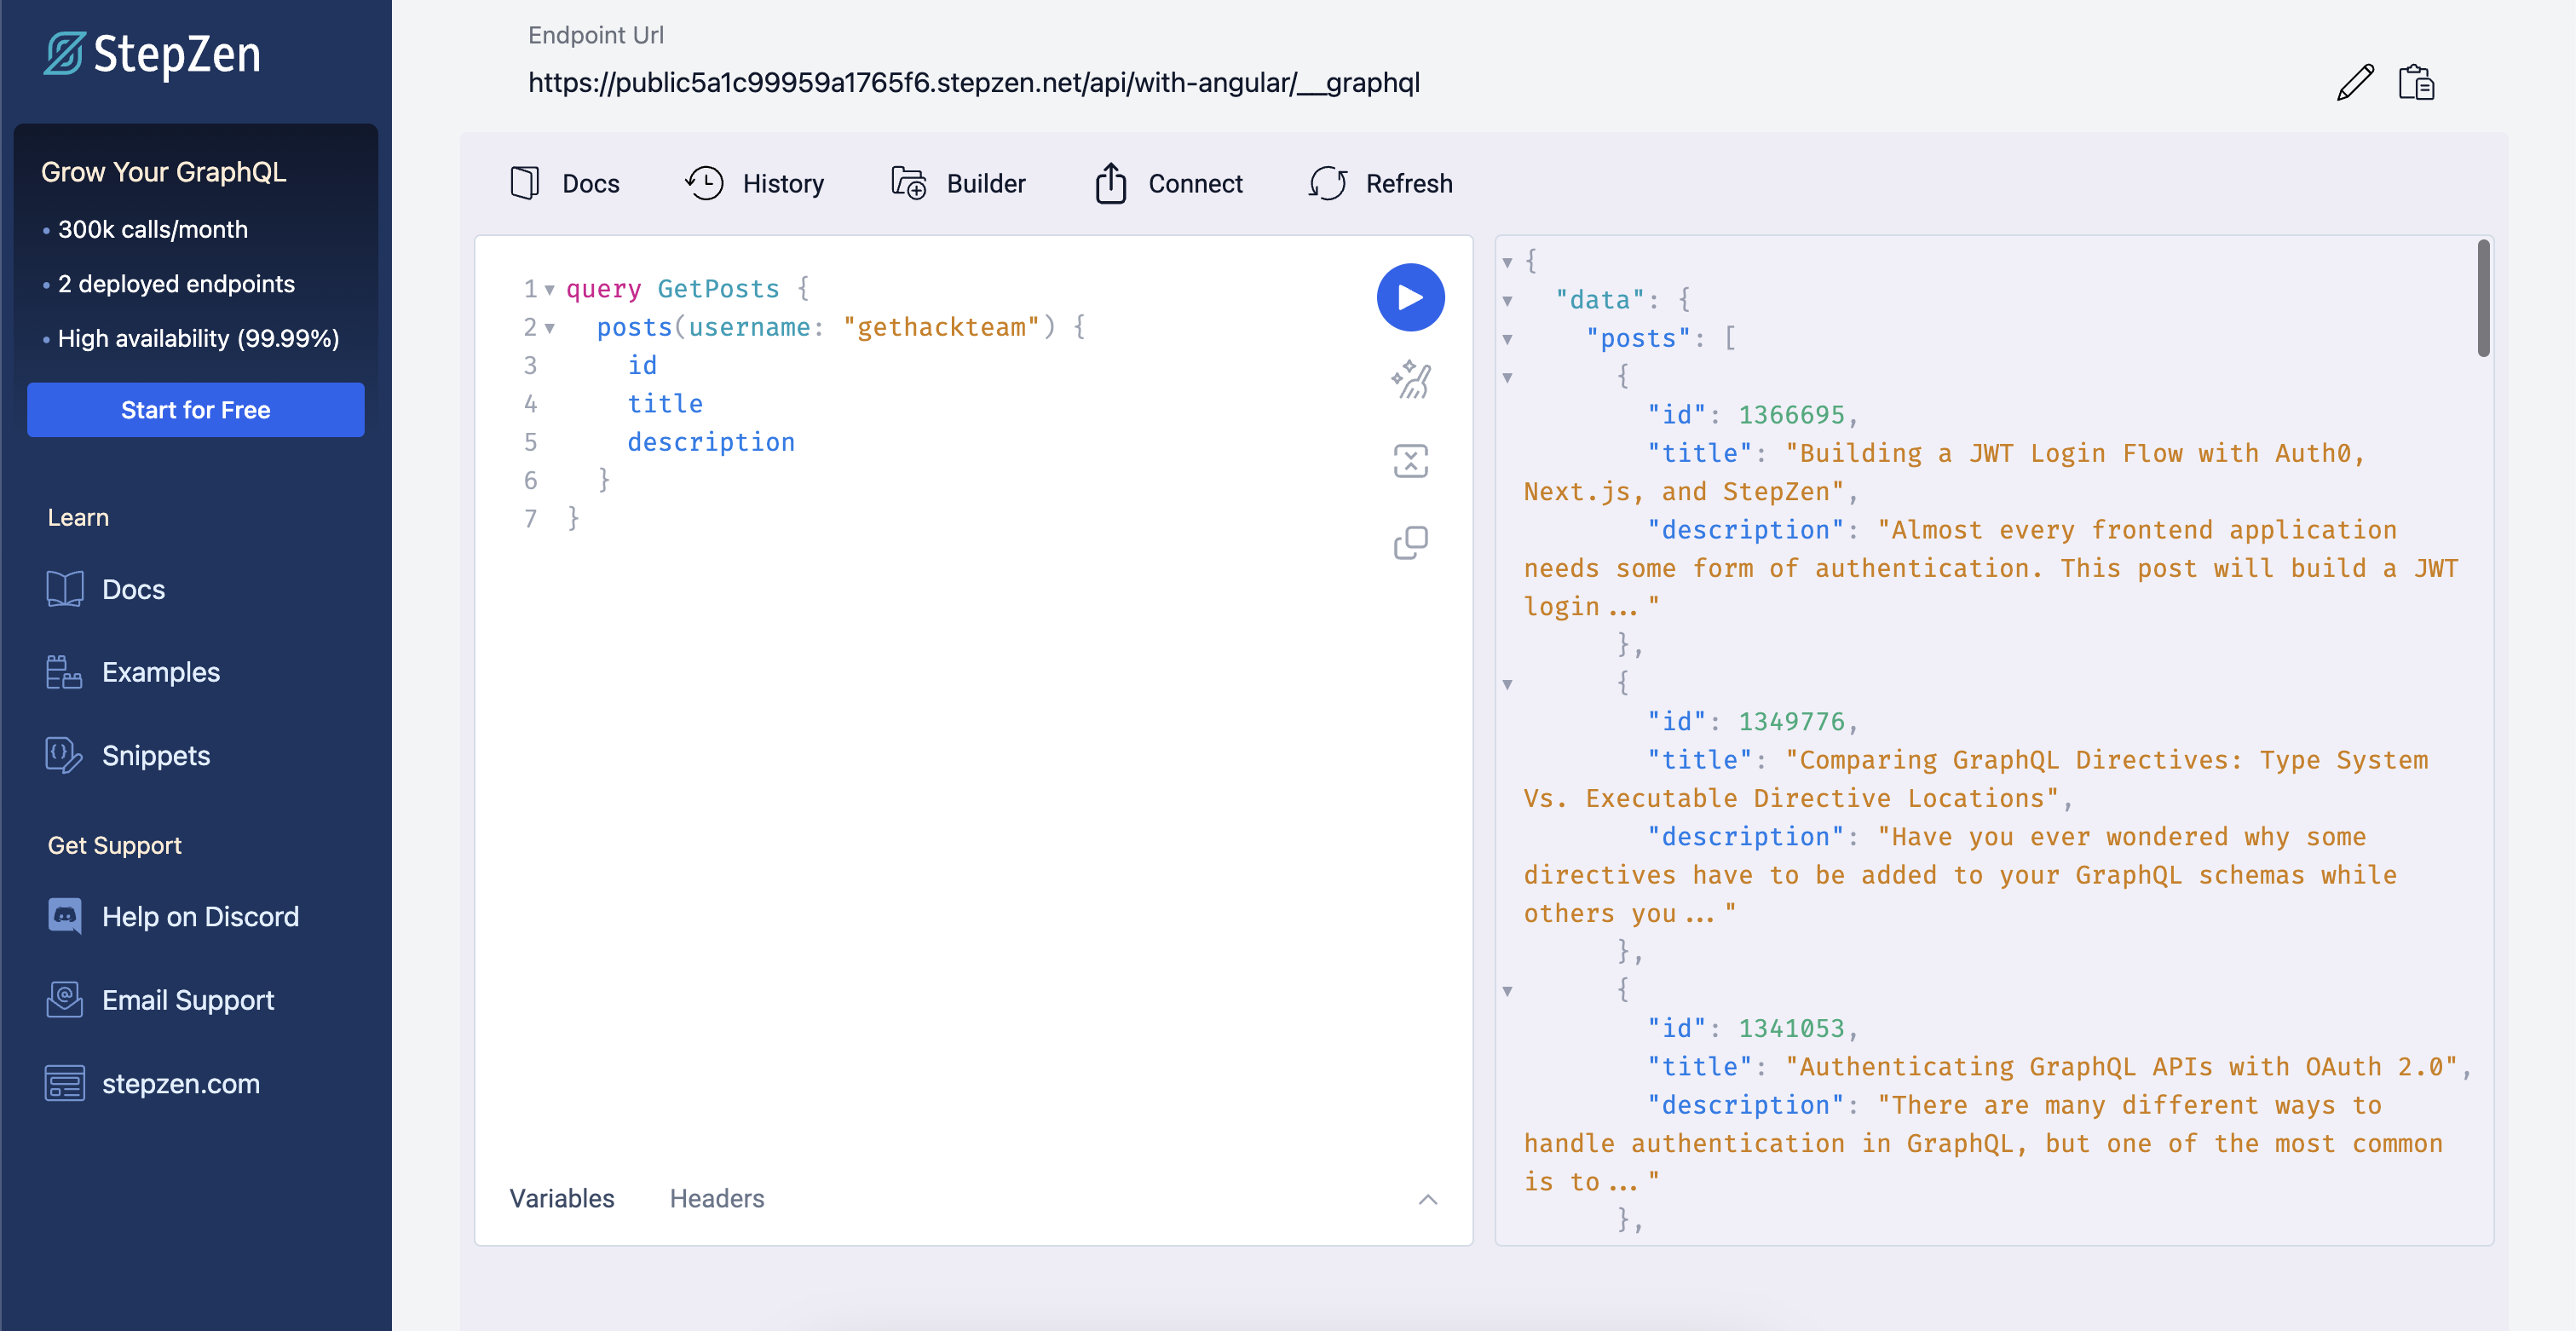
This command will deploy the GraphQL API to the StepZen cloud. Once the GraphQL API is deployed, you explore the GraphQL API from the Explorer in the StepZen dashboard by visiting the following URL: https://dashboard.stepzen.com/explorer?endpoint=api%2Fwith-angular%2F__graphql.
From the Explorer, you can run queries and mutations against the GraphQL API. For example, you can run the following query to retrieve a list of posts:
query GetPosts {
  posts {
    id
    title
    description
  }
}
You can also search for articles from a specific user by changing the username parameter in the query, as shown in the screenshot below.
With the GraphQL API deployed, we can now start building our Angular application. In the next section, we'll add Apollo Client to our Angular application.
Adding Apollo Client to our Angular application
Install Apollo Client for Angular
`ng add apollo-angular`
We're using the Angular CLI to add the library
apollo-angularrather than npm, as this will autogenerate some of the boilerplate code to set up Apollo Client. The Angular CLI will prompt you for the endpoint of your GraphQL API, which you can answer with the endpoint of your GraphQL API that you deployed in the previous step. The endpoint of your GraphQL API is printed in the terminal after runningstepzen start, and will look something like this:https://YOUR_USERNAME.stepzen.com/with-angular/__graphql.
Once entering your GraphQL API endpoint and the GraphQL version (you can use the suggested one), the Angular CLI will generate the setup files for Apollo Client and reference it in the entry point of your application:
CREATE src/app/graphql.module.ts (713 bytes)
UPDATE package.json (1128 bytes)
UPDATE tsconfig.json (895 bytes)
UPDATE src/app/app.module.ts (462 bytes)
These steps complete the installation of Apollo Client but don't handle the data fetching part yet. The next section will add a new Angular component and fetch data from the GraphQL API.
Fetching data with Apollo Client
The query we'll use to display the blog posts is the same one we created in the first part of this blog post. You need to create a new file called graphql.operations.ts in the app directory and add the following content:
import { gql } from 'apollo-angular'

const GET_POSTS = gql`
    query GetPosts {
        posts {
        id
        title
        description
        }
    }
`

export { GET_POSTS }
And use the Angular CLI to generate the boilerplate files for a new component called posts in the app directory:
`ng generate component posts --module app`
The Angular CLI will create a new directory called posts with the files for the business logic (*.ts), styling (*.css), markup (*.html), and testing (*.spec.ts).
To add the logic to fetch the data from the GraphQL API, you can replace the code in posts/posts.component.ts with the following:
import { Component, OnInit } from '@angular/core';
import { Apollo } from 'apollo-angular';
import { GET_POSTS } from '../graphql.operations';

@Component({
  selector: 'app-posts',
  templateUrl: './posts.component.html',
  styleUrls: ['./posts.component.css']
})

export class PostsComponent implements OnInit {
  posts: any[] = [];
  error: any;
  constructor(private apollo: Apollo) { }
  ngOnInit(): void {
    this.apollo.watchQuery({
      query: GET_POSTS
    }).valueChanges.subscribe(({ data, error }: any) => {
      this.posts = data.posts;
      this.error = error;
    }
    );
  }
}
But we also need to add the styling and markup to render the posts in the application. In posts.component.html and posts.component.css, let's add the following HTML and CSS:
Add the following HTML code in posts.component.html:
<div class="main">
    <div *ngIf="error">
        <p>Error: {{ error }}</p>
    </div>
    <div class="posts-container" *ngIf="posts">
        <ul>
            <li *ngFor= "let post of posts">
                <div class="post">
                    <span class="post-title">{{ post.title }}</span>
                    <span class="post-description">{{ post.description }}</span>
                </div>
            </li>
        </ul>
    </div>
</div>
And the following CSS in posts.component.css:
.main {
    margin-top: 60px;
}
.posts-container ul {
    list-style: none;
    display: grid;
    grid-template-columns: repeat(3, 1fr);
    grid-gap: 10px;
}
.posts-container ul li {
    padding: 10px;
    border-bottom: 1px solid #e0e0e0;
}
.post {
    display: flex;
    flex-direction: column;
    padding: 10px;
}
.post-title {
    font-size: 18px;
    font-weight: bold;
    padding-bottom: 10px;
}
.post-description {
    font-size: 14px;
}
- To render the posts in the application, we need to add
app-posts(the selector fromPostsComponent) to theapp.component.htmlfile. In this file, replace the content with the following:
<header role="banner">
  <img src="https://stepzen.comdata:image/svg+xml;base64,PHN2ZyB4bWxucz0iaHR0cDovL3d3dy53My5vcmcvMjAwMC9zdmciIHZpZXdCb3g9IjAgMCAyNTAgMjUwIj4KICAgIDxwYXRoIGZpbGw9IiNERDAwMzEiIGQ9Ik0xMjUgMzBMMzEuOSA2My4ybDE0LjIgMTIzLjFMMTI1IDIzMGw3OC45LTQzLjcgMTQuMi0xMjMuMXoiIC8+CiAgICA8cGF0aCBmaWxsPSIjQzMwMDJGIiBkPSJNMTI1IDMwdjIyLjItLjFWMjMwbDc4LjktNDMuNyAxNC4yLTEyMy4xTDEyNSAzMHoiIC8+CiAgICA8cGF0aCAgZmlsbD0iI0ZGRkZGRiIgZD0iTTEyNSA1Mi4xTDY2LjggMTgyLjZoMjEuN2wxMS43LTI5LjJoNDkuNGwxMS43IDI5LjJIMTgzTDEyNSA1Mi4xem0xNyA4My4zaC0zNGwxNy00MC45IDE3IDQwLjl6IiAvPgogIDwvc3ZnPg==" />
  <span>My posts</span>
</header>

<app-posts></app-posts>
- Finally, add styling to the
app.component.cssfile:
* {
    font-family: Arial, Helvetica, sans-serif;
    padding: 0;
}
header {
    position: absolute;
    top: 0;
    left: 0;
    right: 0;
    height: 60px;
    display: flex;
    align-items: center;
    background-color: #1976d2;
    color: white;
    font-weight: 600;
}
header img {
    margin: 0 16px;
}
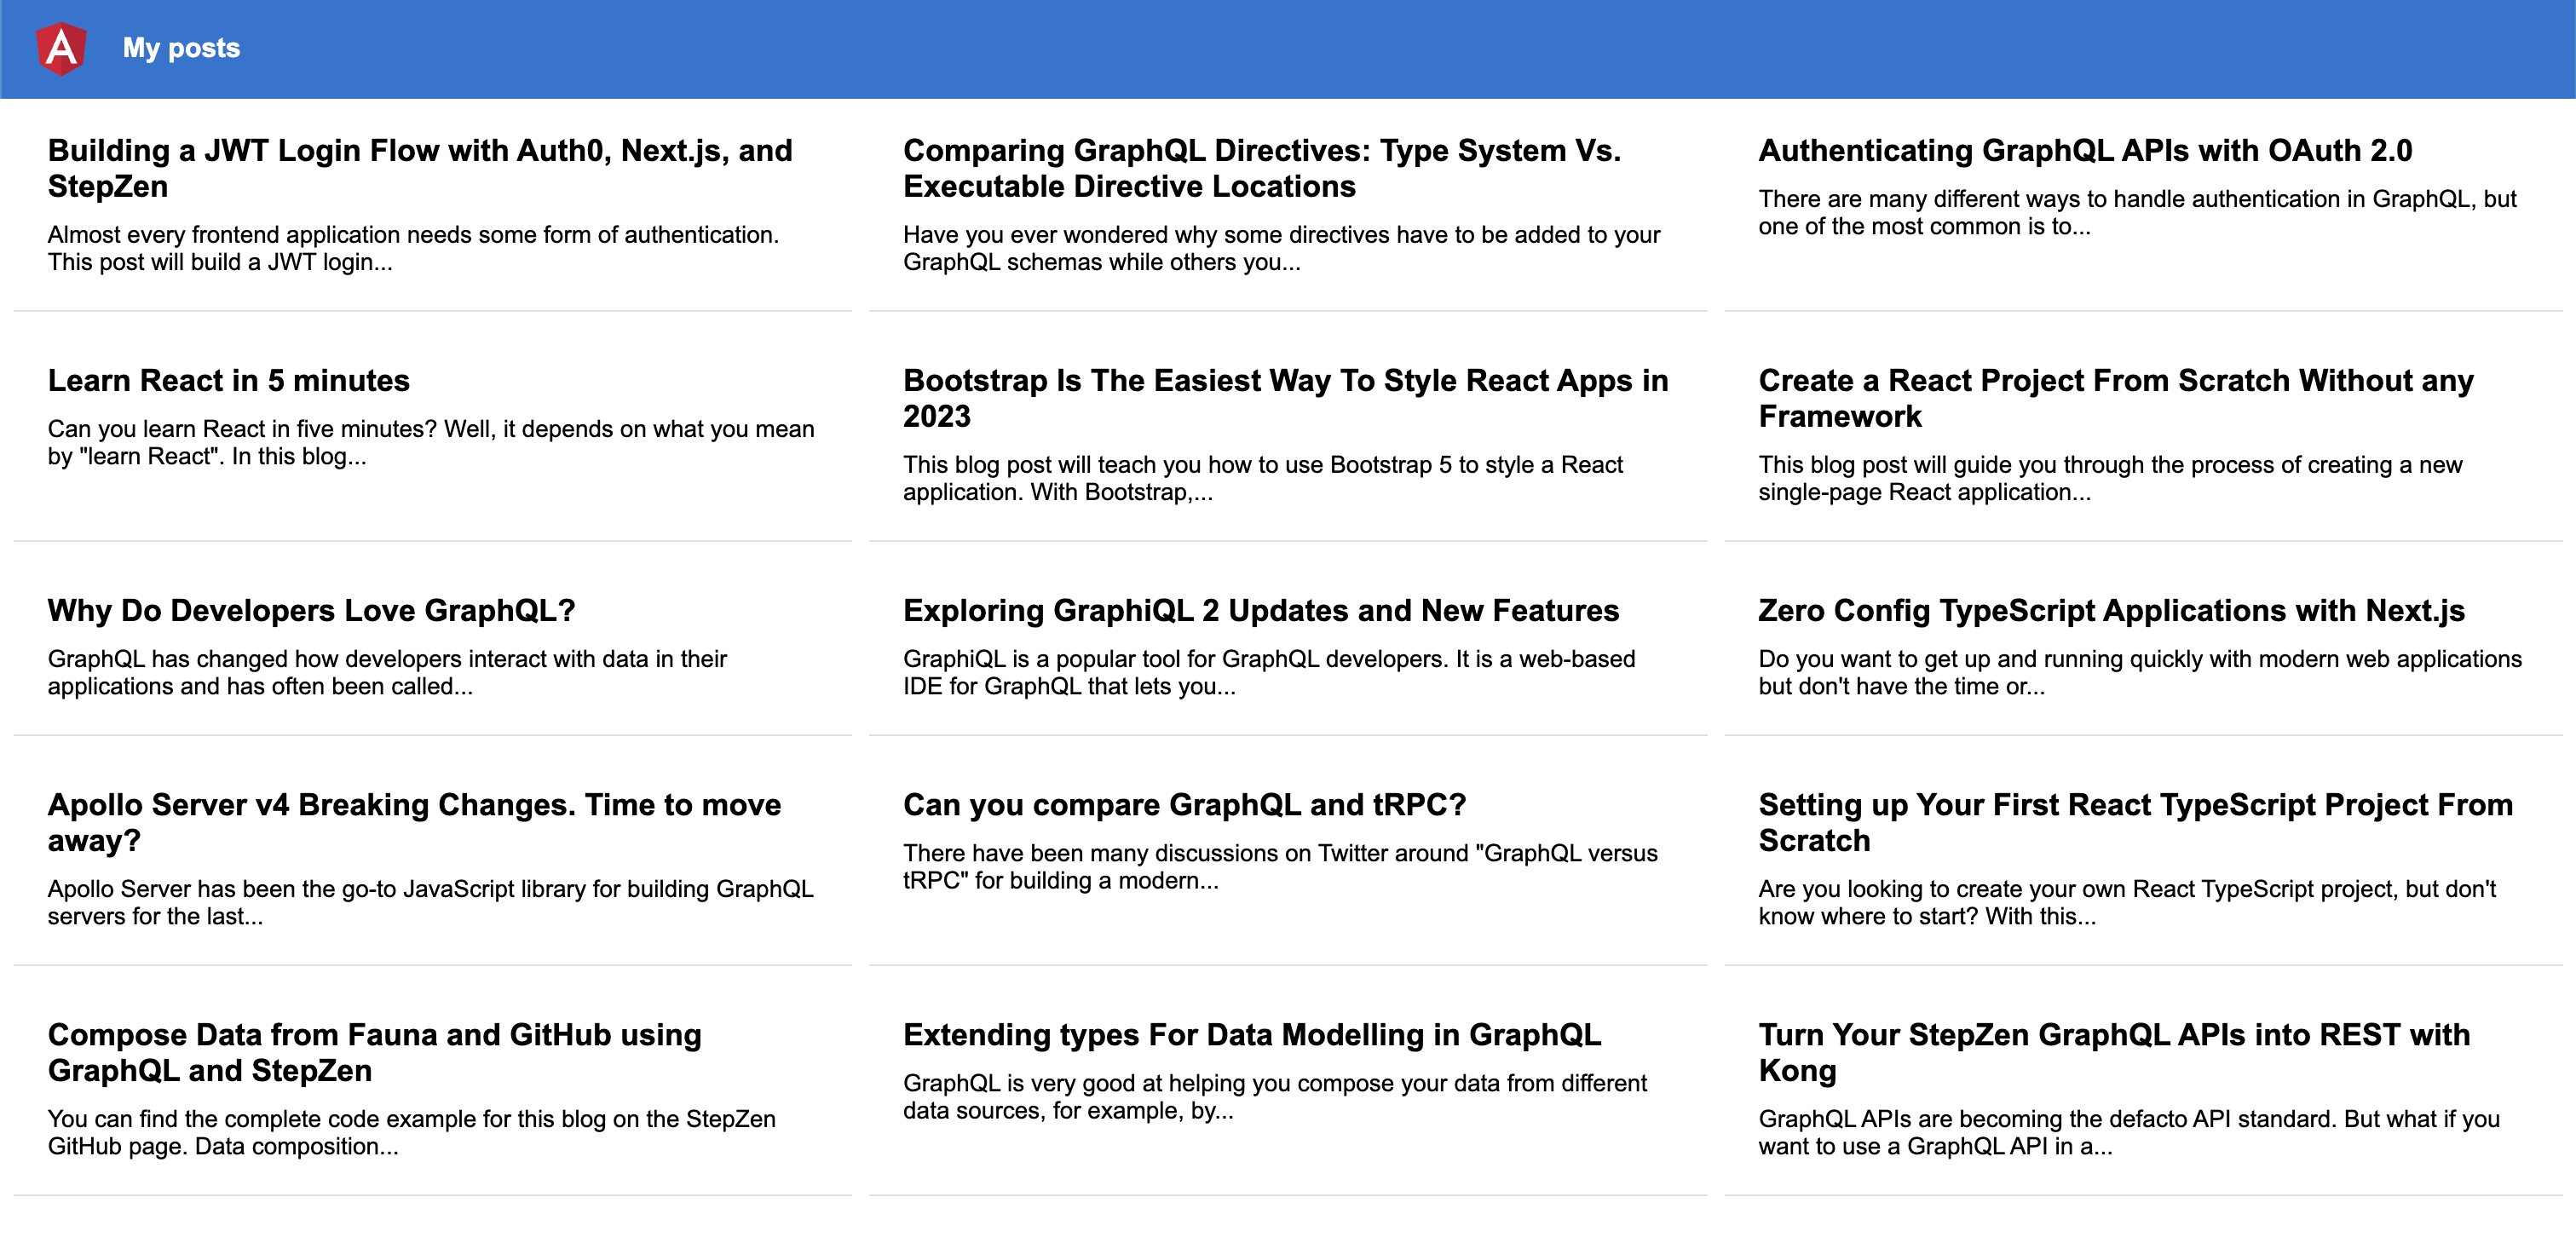
The application should now look like this; make sure to run npm start to start the development server:
But that's not all. You can also search posts by username. In the next section, we'll extend the functionality of this application by adding a search bar.
Adding search functionality
In this section, we'll add a search bar to the application to search for posts by username. With this functionality, we can search for posts by a specific user.
- For starters, we will add a new query to the
graphql.operations.tsfile. This query will take a username as an argument and return the same fields as theGET_POSTSquery:
// ...
const GET_POSTS_BY_USERNAME = gql`
    query GetPostsByUsername($username: String!) {
        posts(username: $username) {
            id
            title
            description
        }
  }
`

export { GET_POSTS, GET_POSTS_BY_USERNAME }
- From the file
posts/posts.component.ts, we first need to import the built-in forms library@angular/formsand theGET_POSTS_BY_USERNAMEquery:
import { Component, OnInit } from '@angular/core';
import { FormControl, FormGroup, Validators } from '@angular/forms';
import { Apollo } from 'apollo-angular';
import { GET_POSTS, GET_POSTS_BY_USERNAME } from '../graphql.operations';
// ...
- In the same file, we will add a new method called
searchPoststhat will be called when the user submits the search form. This method will take theGET_POSTS_BY_USERNAMEquery and pass the username as an argument. The data forpostswill be overwritten with the new data:
// ...
export class PostsComponent implements OnInit {
  posts: any[] = [];
  error: any;
  searchForm = new FormGroup({
    username: new FormControl('gethackteam', Validators.required),
  });
  searchPosts() {
    this.apollo.query({
      query: GET_POSTS_BY_USERNAME,
      variables: {
        username: this.searchForm.value.username,
      }
    }).subscribe(({ data }: any) => {
      this.posts = data.posts;
    });
  }
- To add the search bar, we will add a
formelement to the markup fileposts.component.html:
<div class="main">
    <div *ngIf="error">
        <p>Error: {{ error }}</p>
    </div>
    <form class="form" [formGroup]="searchForm" (ngSubmit)="searchPosts()">
        <input class="input" type="text" name="username" placeholder="Enter username" formControlName="username" />
        <br />
        <button class="submit-button" [disabled]="searchForm.invalid">SUBMIT</button>
    </form>
    <!-- ... -->
- And to complete the search functionality, you can add the following styling rules to the bottom of the file
posts.component.css:
form {
    display: flex;
    align-items: center;
    justify-content: center;
    padding: 10px;
}
form input[type="text"] {
    padding: 5px 10px;
    margin-right: 10px;
}
form button {
    padding: 7px 12px;
    border: 0px;
    border-radius: 3px;
    background: #E23237;
    color: #FFF;
}
If you go to the Angular application running in your browser on localhost you can now search by username. A placeholder username is already present, and you can press the "submit" button to search for posts written by this username. Or, replace this value with your own username.
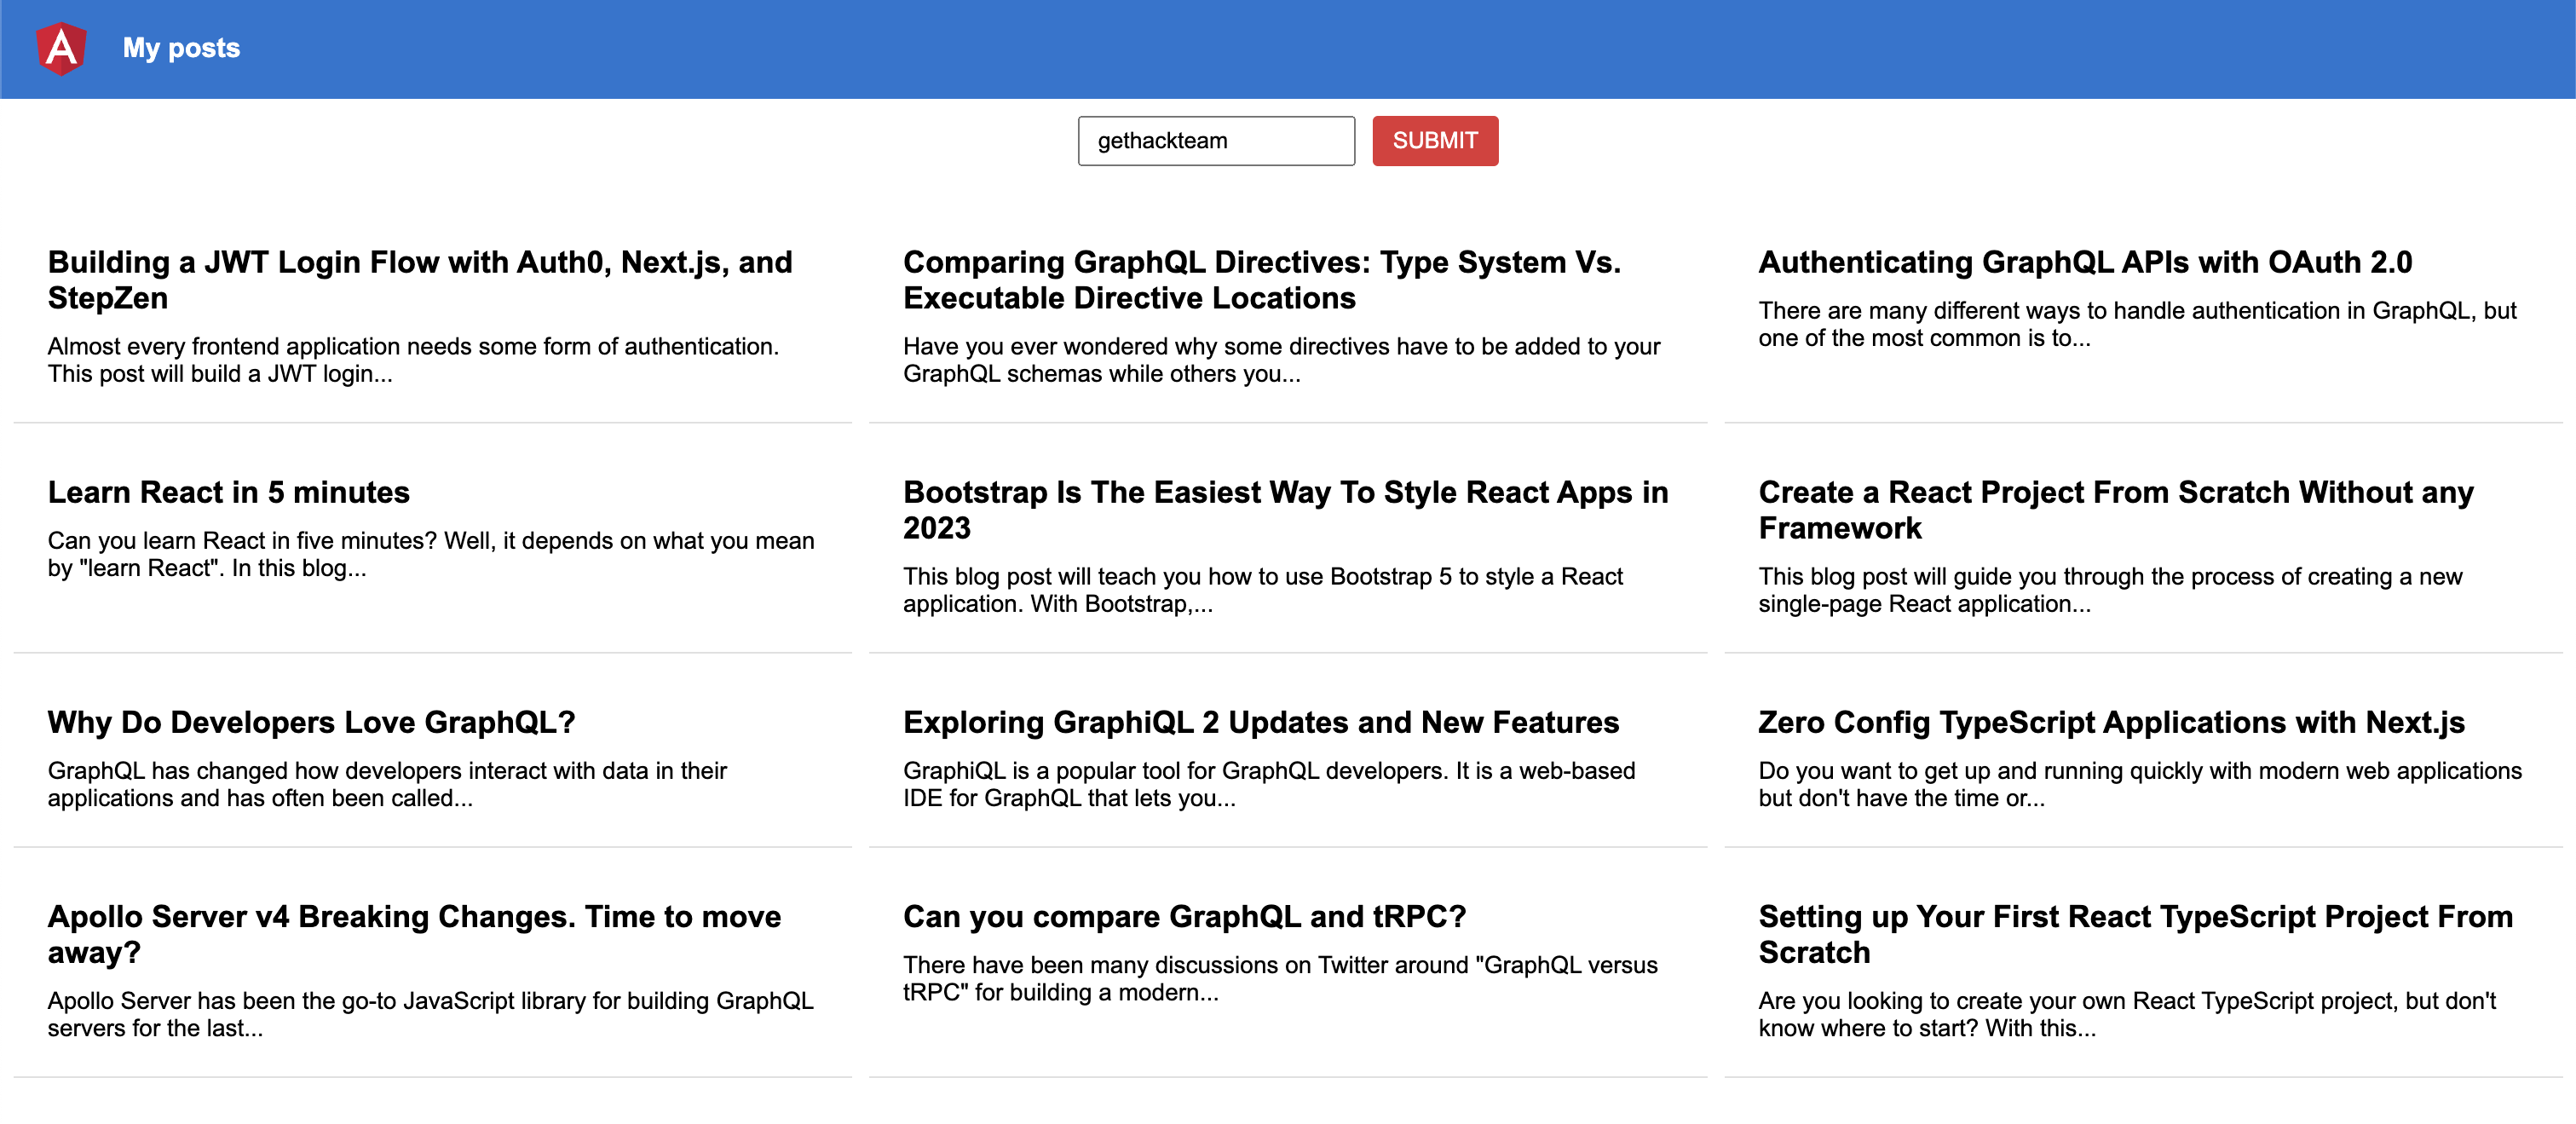
Congrats on building a fullstack Angular application! The final application should look something like the screenshot above. You can add features like error and loading status or routing to display an individual post to continue learning.
Conclusion
This tutorial taught you to use GraphQL in an Angular application using Apollo Client. With Angular, you can build scalable frontend applications with native TypeScript support. On the other hand, Apollo Client is a library to help you fetish data from a GraphQL API. For example, the GraphQL API you created in this tutorial by transforming the DEV.to REST API into GraphQL using StepZen.
Head over to our examples repository for more examples of using GraphQL and frontend libraries. Or the StepZen docs to learn more about building GraphQL APIs? If you have questions about this tutorial, you can ask for help on our Discord channel.
This post was originally published on stepzen.com. Reposted automatically with Reposted.io.

